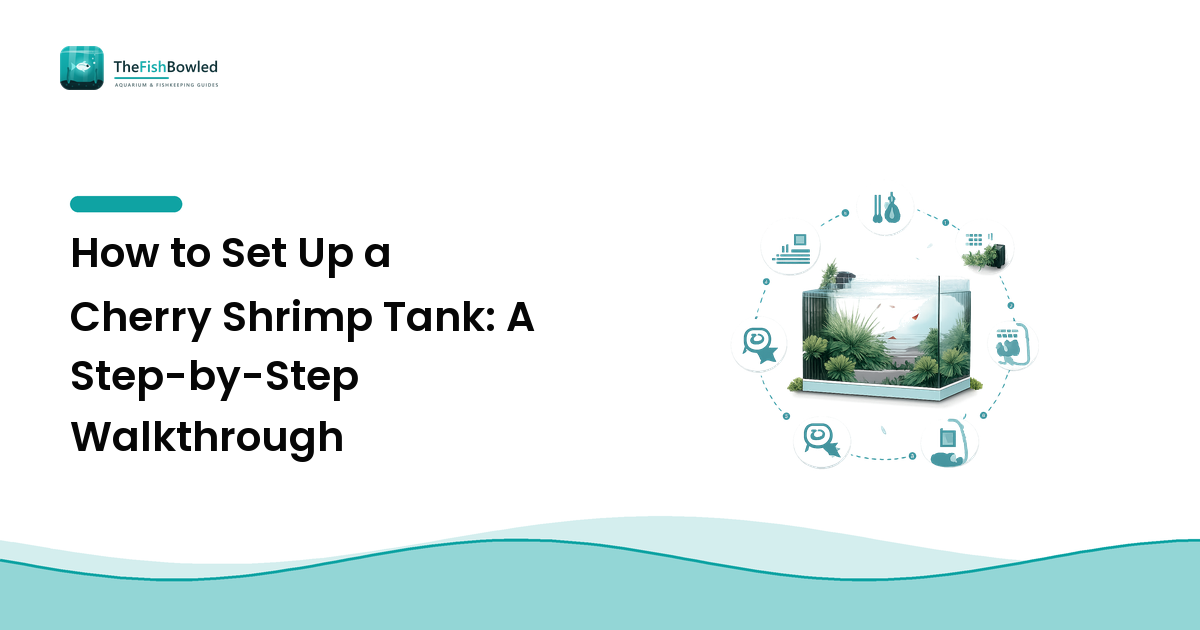
To set up a cherry shrimp tank, cycle a 5–10 gallon aquarium with a sponge filter, hold it at 68–77°F with a pH of 6.5–7.5 and GH of 6–8, let it mature for several extra weeks so biofilm grows, then drip-acclimate the shrimp over 1–2 hours. Patience during maturation matters more than any piece of gear.
Cherry shrimp (Neocaridina davidi) have a reputation for being bulletproof, and in a stable, established tank they mostly are. Nearly every failed colony traces back to the same two things: shrimp added to a tank that was too new, and shrimp moved into new water too fast. This walkthrough fixes both. Work through the steps in order and verify each one before moving on — the checks are the point.
What do cherry shrimp actually need before you buy anything?
Three things, in priority order: stable water, a mature surface film to graze, and no copper.
Shrimp are far more sensitive than most community fish to swings in temperature and mineral content, and they are extremely sensitive to copper, which is a common ingredient in fish medications and in some plant fertilizers. They are not especially demanding about exact numbers — a colony will thrive at a steady pH of 7.4 far better than one bounced between 6.8 and 7.2 every week.
Target ranges for Neocaridina:
- Temperature: 68–77°F (20–25°C). Room temperature works in most homes; a heater is optional, and if you use one, set it low and steady rather than warm. Warmer water speeds breeding but shortens lifespan.
- pH: 6.5–7.5, stable.
- GH (general hardness): 6–8 degrees. This one is not optional — shrimp need dissolved calcium and magnesium to build a new shell after each molt. Very soft water causes failed molts.
- KH (carbonate hardness): 2–5 degrees, enough to stop pH from drifting.
- Ammonia and nitrite: 0 ppm, always. Both are lethal.
- Nitrate: under 20 ppm.
If those terms are unfamiliar, the water quality guide explains what each one measures and the freshwater parameter chart shows how to correct a reading that's off.
The step-by-step cherry shrimp tank setup
Step 1 — Choose the tank and place it
Pick 5 gallons minimum, 10 gallons preferred. Bigger volumes hold temperature and chemistry steadier, which is the whole game with shrimp. A long, shallow footprint beats a tall one — shrimp graze surfaces, so floor area and hardscape matter more than depth.
Set it somewhere out of direct sunlight and away from heating vents or a frequently opened exterior door.
Verify: Put a thermometer in the empty tank and check it morning and evening for two days. If the room swings more than about 4°F, move the tank or plan on a heater.
Step 2 — Add substrate and hardscape
Inert gravel or sand is fine and keeps your water chemistry where your tap water already is. Active "buffering" aquasoils deliberately lower pH and strip hardness — great for crystal shrimp, wrong for cherries in most tap water.
Add cholla wood, driftwood, stones, and a few dried leaves. These aren't decoration: they're grazing surface, and surface area is what a colony feeds on.
Verify: Rinse substrate until the runoff is clear before it goes in. Nothing you add should be metallic or copper-plated.
Step 3 — Install a sponge filter
Use an air-driven sponge filter. This is the one piece of gear where the choice is close to non-negotiable: sponge filters cannot suck in shrimplets, and the sponge itself becomes a grazing surface. Hang-on-back and canister filters work only if the intake is covered with a fine pre-filter sponge, which needs cleaning often.
Verify: With the pump running, hold a leaf near the intake. It should press gently against the sponge, not get pinned hard.
Step 4 — Plant it
Plant more heavily than you would a fish tank. Java moss, Java fern, Anubias, and floating plants are the classic shrimp set — moss especially, because it traps detritus and gives shrimplets somewhere to hide. Plants also absorb nitrate between water changes. The beginner plant picks list covers which ones survive low light and no CO2.
Important: quarantine or rinse new plants thoroughly. Nursery plants are sometimes treated with pesticides that are harmless to fish and fatal to invertebrates.
Verify: Anubias and Java fern rhizomes must sit above the substrate, tied to wood or stone. Buried rhizomes rot.
Step 5 — Cycle the tank completely
Fill it, dose an ammonia source, and run a full nitrogen cycle: ammonia converts to nitrite, then nitrite converts to nitrate. This takes roughly 3–6 weeks. Do not shorten it. The aquarium setup guide walks through the cycling process in detail if this is your first tank.
Verify: Add ammonia to about 2 ppm. The cycle is complete when, 24 hours later, you read 0 ammonia, 0 nitrite, and some nitrate. Repeat the test once more to confirm it wasn't a fluke.
Step 6 — Let the tank mature for another 3–4 weeks
This is the step almost everyone skips, and it is the difference between a colony and a slow die-off. A cycled tank is safe; a mature tank is also food. Shrimp graze biofilm — the invisible microbial layer that develops on every surface over time — and newly cycled tanks have almost none of it.
Leave the light on a timer, keep the filter running, add a couple of dried leaves, and simply wait.
Verify: Look at the glass and hardscape at a low angle. When surfaces have lost their squeaky-clean look and show a faint film or a light dusting of soft brown diatoms, the tank is ready. Those early brown diatoms are normal in a young tank, not a problem — the algae guide explains why they fade on their own.
Step 7 — Drip-acclimate the shrimp
Float the sealed bag for 20 minutes to match temperature, then pour the shrimp and their water into a clean container. Run an airline siphon from your tank into that container, tied in a loose knot so it drips roughly 2–3 drops per second. Continue until the container volume has tripled, which takes 1–2 hours.
Shrimp are sensitive to sudden shifts in hardness and TDS. Slow is not fussiness here — it prevents molt-triggered death within the first 48 hours.
Verify: Net the shrimp out and place them in the tank; discard the transport water rather than pouring it in. Within an hour, healthy shrimp should be actively grazing surfaces, not sitting still with their legs tucked.
Step 8 — Settle into a routine
Feed sparingly — a small amount of shrimp-specific food or blanched vegetable two or three times a week, removed after a few hours if uneaten. A mature tank supplies most of their diet. Change 10–15% of the water weekly using temperature-matched, dechlorinated water added slowly.
Verify: Within 3–6 weeks you should see berried females carrying eggs under their tails. Cherry shrimp have no larval stage, so shrimplets hatch as miniature adults. Babies appearing is the definitive sign the setup worked.
FAQ
Can cherry shrimp live with fish? With small, peaceful, non-predatory fish, adults usually survive, but shrimplets get eaten and the colony stops growing. If your goal is a breeding colony, keep the tank shrimp-only. If you want a mixed tank, choose genuinely tiny-mouthed species and expect the population to stay flat.
Why did my shrimp die a few days after adding them? Almost always acclimation shock or an incompletely matured tank. A large, fast change in hardness or TDS disrupts the next molt, and shrimp die several days later — which is why the cause is easy to miss. Drip slowly and test before buying.
Do I need a heater? Only if your room drops below about 68°F or swings widely. Cherry shrimp handle room temperature well, and stability beats warmth. If you use a heater, set it at the low end of the range.
What is the white ring on my shrimp? A clean split behind the head is a normal pre-molt sign. A persistent white band across the middle — the "white ring of death" — indicates a failed molt, usually from a sudden water change or insufficient GH. Fix the mineral level and change water more gradually.
How many shrimp should I start with? Ten to fifteen. Below that, the colony breeds slowly and a single loss hurts. Cherry shrimp reproduce readily once settled, so a small, well-acclimated starting group outperforms a large, stressed one.
Get the water stable, let the tank get boring for a few extra weeks, then drip slowly — do that and the colony largely runs itself. For parameter specs and species details as you plan, browse the care guides and species profiles at The Fish Bowled.